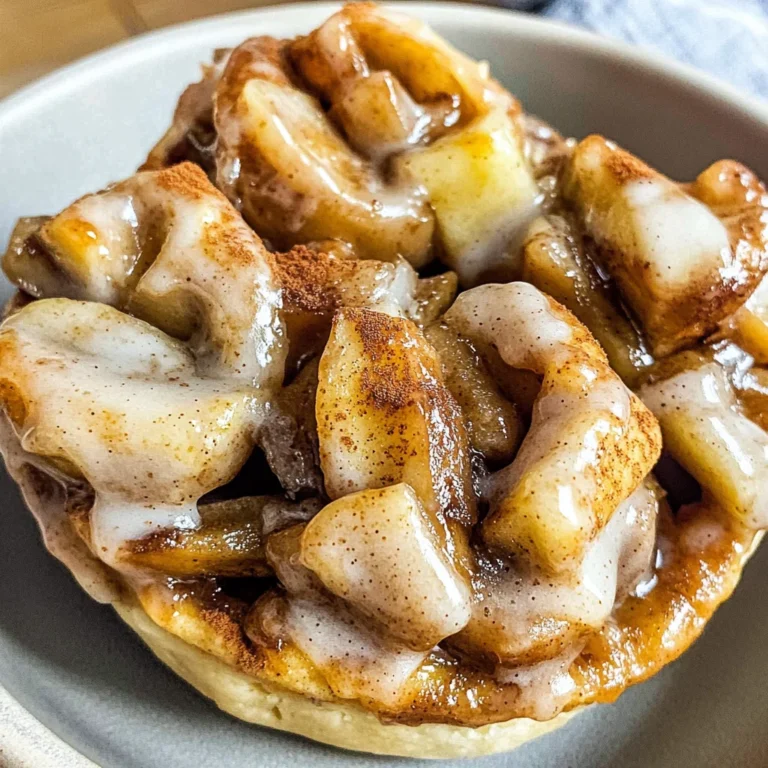
How to Make the Best Apple Pie Bars
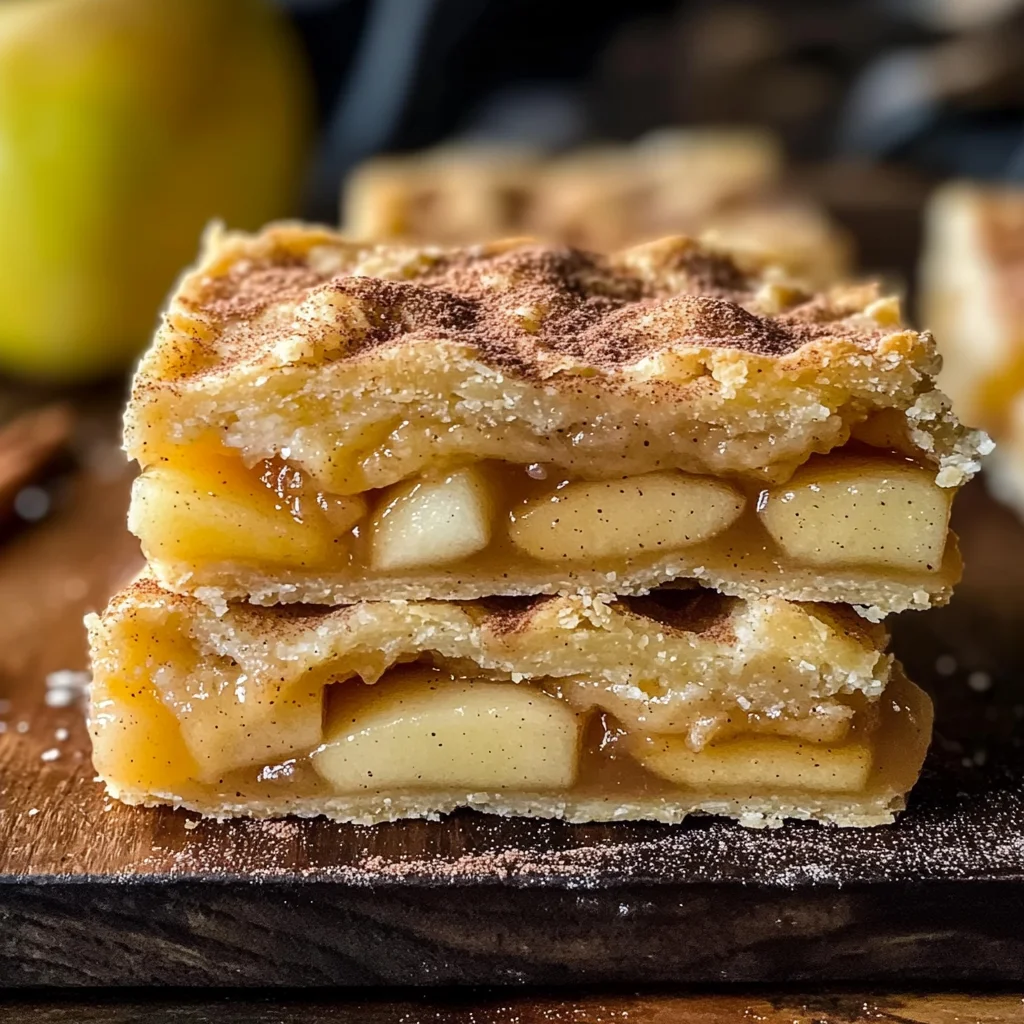
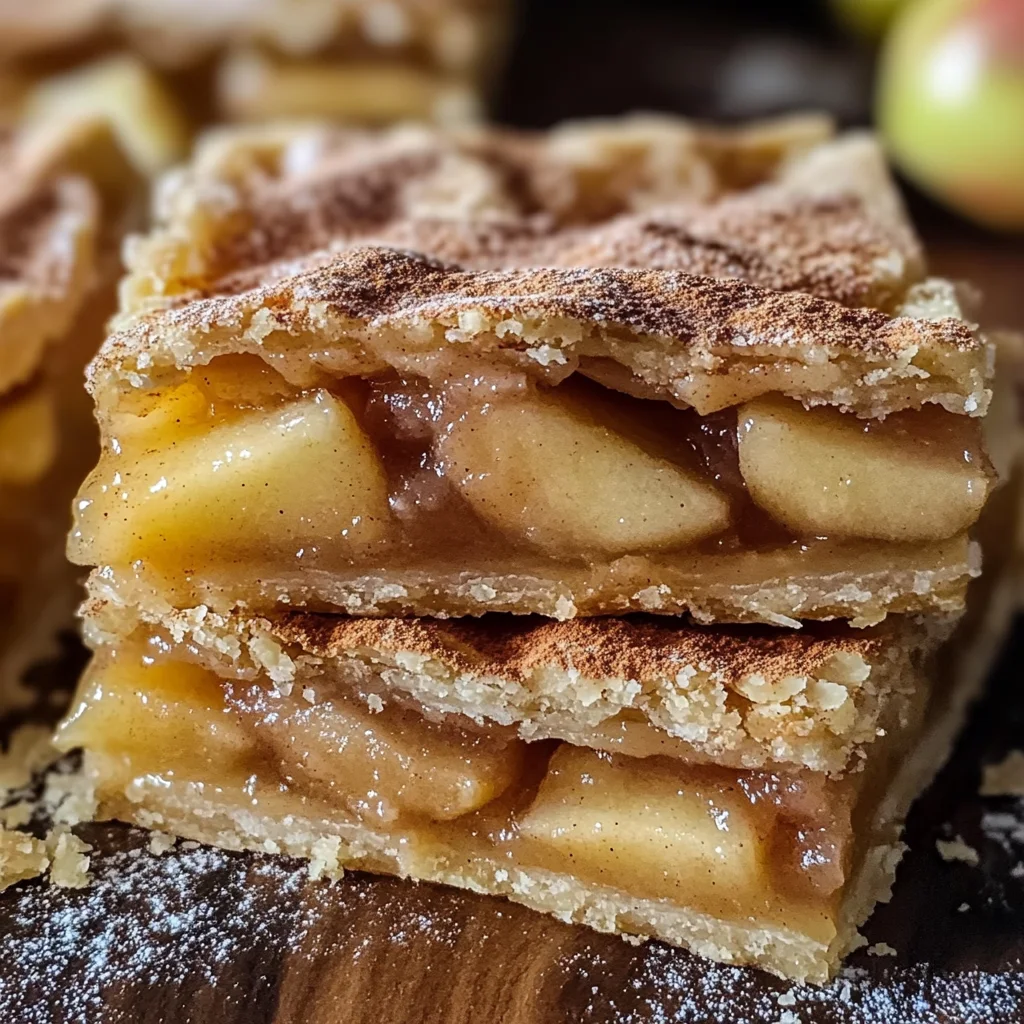
If you’re looking for a dessert that warms your heart and fills your home with the smell of autumn, then you’ve come to the right place. Today, I’m excited to share my cherished recipe on how to make the best apple pie bars. These delightful treats are not only easy to whip up but also perfect for any occasion, whether it’s a busy weeknight or a family gathering. With their sweet apple filling and buttery crust, they bring comfort and joy with every bite!
What makes these apple pie bars extra special is that they capture all the flavors of a traditional apple pie without the fuss. They’re great for meal prep too! You can bake them ahead of time and enjoy them throughout the week—trust me, they won’t last long!
Why You’ll Love This Recipe
- Easy to Make: With just a handful of simple steps, you’ll have these delicious bars ready in no time.
- Family-Friendly: Everyone loves apple pie! These bars are fun to eat and perfect for sharing with loved ones.
- Make-Ahead Convenience: Bake a batch on Sunday and enjoy them throughout the week as a sweet treat after dinner.
- Delicious Flavor: The combination of warm spices and fresh apples makes these bars irresistibly tasty!
- Comfort Food: There’s nothing quite like homemade dessert to bring back fond memories and create new ones.
Ingredients You’ll Need
The best part about these apple pie bars is that they use simple, wholesome ingredients you probably already have in your kitchen. Let’s gather everything we need for this delightful dessert!
For the Crust
- 1 cup all-purpose flour
- 1/2 cup rolled oats
- 1/4 cup brown sugar
- 1/2 cup unsalted butter, softened
For the Filling
- 3 cups peeled and sliced apples (Granny Smith or Honeycrisp work well)
- 1/4 cup granulated sugar
- 1 teaspoon ground cinnamon
- 1 tablespoon lemon juice
For the Topping
- 1/2 cup all-purpose flour
- 1/4 cup rolled oats
- 1/4 cup brown sugar
- 1/4 teaspoon salt
- 1/4 cup unsalted butter, melted
Variations
This recipe is wonderfully flexible! Feel free to get creative as you make it your own. Here are some ideas:
- Add Nuts: Chopped walnuts or pecans add a nice crunch and flavor contrast.
- Try Different Apples: Experiment with different apple varieties for varied sweetness and tartness.
- Mix in Spices: A pinch of nutmeg or ginger can elevate the spice profile beautifully.
- Top with Ice Cream: Serve warm with a scoop of dairy-free ice cream for an indulgent treat!
How to Make How to Make the Best Apple Pie Bars
Step 1: Prepare the Crust
Start by preheating your oven to 350°F (175°C). In a large bowl, mix together the flour, oats, brown sugar, and softened butter until crumbly. This mixture will form a lovely base for your bars. Press half of it into an even layer at the bottom of your baking dish—this will give you that sturdy crust we all love.
Step 2: Make the Apple Filling
In another bowl, combine the sliced apples, granulated sugar, cinnamon, and lemon juice. Toss everything together until well coated. The lemon juice helps balance out the sweetness while keeping your apples fresh. Pour this delicious filling over your crust layer evenly.
Step 3: Prepare the Topping
Use the remaining crust mixture by mixing it again with flour, oats, brown sugar, salt, and melted butter until crumbly. Sprinkle this topping generously over your apple filling. This will create a beautiful golden-brown layer when baked.
Step 4: Bake
Place your baking dish in the oven and let it bake for about 40 minutes until golden brown on top. The aroma that fills your kitchen during this time is simply heavenly! Once done, allow it to cool slightly before cutting into squares.
And there you have it! Now you know how to make the best apple pie bars—a perfect blend of ease and deliciousness that will surely become a favorite in your household! Enjoy every bite!
Pro Tips for Making How to Make the Best Apple Pie Bars
Creating delicious apple pie bars is a delightful adventure that anyone can embark on with a bit of preparation and care. Here are some handy tips to ensure your baking experience is smooth and your bars turn out perfectly!
-
Use fresh apples: Fresh, crisp apples will provide the best flavor and texture. Granny Smith or Honeycrisp varieties work well because they balance sweetness and tartness beautifully.
-
Chill the dough: Allowing your dough to chill for at least 30 minutes helps it to firm up, making it easier to handle and creating a flakier crust once baked.
-
Don’t skip the spices: A sprinkle of cinnamon and nutmeg enhances the apple flavor. These warm spices create that classic apple pie taste that everyone loves.
-
Cut evenly: When slicing your bars, aim for uniform sizes to ensure even cooking. This way, each piece will have the same delicious texture and flavor.
-
Let them cool: Allow your apple pie bars to cool completely before cutting into them. This helps the filling set and makes for cleaner slices.
How to Serve How to Make the Best Apple Pie Bars
These apple pie bars are not only a treat for the taste buds but also a feast for the eyes! Presenting them beautifully can make your dessert even more inviting.
Garnishes
-
Whipped coconut cream: A dollop of whipped coconut cream adds a rich, creamy texture that complements the sweet tanginess of the apple filling.
-
Caramel drizzle: A light drizzle of homemade caramel sauce on top can elevate the visual appeal while adding an extra layer of sweetness.
Side Dishes
-
Vanilla ice cream: The classic pairing with any pie, vanilla ice cream provides a creamy contrast to the warm apple bars—perfect for a cozy dessert evening.
-
Fruit salad: A refreshing fruit salad made with seasonal fruits offers a bright, zesty counterpoint to the richness of apple pie bars.
-
Spiced chai tea: Serve these bars alongside a warm cup of spiced chai tea. The aromatic spices in the tea will beautifully complement the flavors in your dessert.
-
Cheese platter: A small cheese platter featuring mild cheeses like brie or gouda can be an interesting savory contrast, balancing out the sweet flavors of your dessert.
Enjoy these tips as you dive into making your own batch of apple pie bars—your friends and family are sure to love them! Happy baking!
Make Ahead and Storage
These apple pie bars are not only delicious but also perfect for meal prep! You can easily make them ahead of time and enjoy them throughout the week. Here’s how to store and preserve their delightful flavor.
Storing Leftovers
- Allow the apple pie bars to cool completely before storing.
- Place them in an airtight container at room temperature for up to 3 days.
- For longer freshness, refrigerate them; they will last up to a week in the fridge.
Freezing
- Cut the cooled apple pie bars into squares or rectangles.
- Wrap each piece individually in plastic wrap, then place them in a freezer-safe bag.
- Freeze for up to 2 months. Be sure to label the bag with the date!
Reheating
- To reheat from frozen, remove the desired number of bars and let them thaw in the refrigerator overnight.
- For quick reheating, place them on a microwave-safe plate and heat for 15-20 seconds until warm.
- If you’d like a crispy crust, preheat your oven to 350°F (175°C) and bake for about 10 minutes.
FAQs
Here are some common questions about how to make the best apple pie bars that I hope will help you out!
Can I use different types of apples?
Absolutely! Using a mix of sweet and tart apples, such as Granny Smith and Honeycrisp, enhances the flavor of your apple pie bars.
How to make the best apple pie bars without animal-derived gelatin?
This recipe doesn’t use gelatin at all. The natural pectin found in apples helps create a lovely filling consistency without any animal products.
Can I adjust the sweetness of my apple pie bars?
Yes! Feel free to modify the sugar amount based on your taste preference or use a sugar substitute if desired.
Final Thoughts
I hope you enjoy making these delicious apple pie bars as much as I do! They’re perfect for sharing with family or indulging yourself after a long day. Remember, baking is about joy and creativity—don’t hesitate to experiment with flavors! Happy baking!
How to Make the Best Apple Pie Bars
If you’re craving a dessert that embodies the essence of autumn, these homemade apple pie bars are the perfect choice. Bursting with sweet, cinnamon-spiced apples and nestled between a buttery oat crust, they offer all the comforting flavors of traditional apple pie in a simple, bar format. Ideal for family gatherings or cozy weeknight treats, these easy-to-make bars are sure to delight everyone. Bake a batch in advance and store them for an indulgent snack throughout the week. With every bite, you’ll enjoy the warm nostalgia of homemade goodness!
- Prep Time: 15 minutes
- Cook Time: 40 minutes
- Total Time: 55 minutes
- Yield: Approximately 12 servings 1x
- Category: Dessert
- Method: Baking
- Cuisine: American
Ingredients
- 1 cup all-purpose flour
- 1/2 cup rolled oats
- 1/4 cup brown sugar
- 1/2 cup unsalted butter, softened
- 3 cups peeled and sliced apples (Granny Smith or Honeycrisp)
- 1/4 cup granulated sugar
- 1 teaspoon ground cinnamon
- 1 tablespoon lemon juice
Instructions
- Preheat your oven to 350°F (175°C).
- In a bowl, mix flour, oats, brown sugar, and butter until crumbly. Press half into the bottom of a baking dish.
- In another bowl, combine apples, granulated sugar, cinnamon, and lemon juice; toss until coated. Spread over the crust.
- Mix remaining crust ingredients and sprinkle over the apple filling.
- Bake for about 40 minutes until golden brown. Cool slightly before slicing.
Nutrition
- Serving Size: 1 serving
- Calories: 210
- Sugar: 10g
- Sodium: 90mg
- Fat: 9g
- Saturated Fat: 5g
- Unsaturated Fat: 4g
- Trans Fat: 0g
- Carbohydrates: 32g
- Fiber: 2g
- Protein: 2g
- Cholesterol: 15mg