Easy Homemade Pie Crust
If you’re looking for the perfect base for your favorite pies, then this Easy Homemade Pie Crust is just what you need! This recipe has been a cherished part of my baking routine for years. It’s simple, quick, and absolutely delicious—making it ideal for busy weeknights or festive family gatherings. Whether you’re whipping up a classic apple pie or a rich pumpkin dessert, this crust will elevate your creation and have everyone asking for seconds!
What I love most about this Easy Homemade Pie Crust is how forgiving it is. Even if you’re new to baking, you can follow this guide with confidence. Plus, it requires just a handful of wholesome ingredients that you probably already have in your pantry.
Why You’ll Love This Recipe
- Easy to make: With straightforward steps, you’ll master pie crust in no time!
- Family-friendly: Everyone will appreciate that homemade touch in their favorite desserts.
- Make-ahead convenience: Prepare ahead of time and chill until you’re ready to bake!
- Versatile: Perfect for sweet or savory pies—let your creativity shine!
- Deliciously flaky: Enjoy a tender, flaky crust that enhances any filling.
Ingredients You’ll Need
Let’s gather our simple, wholesome ingredients! With these pantry staples, you’ll be well on your way to making a delightful pie crust from scratch.
Ingredients:
– 2 1/2 cups all-purpose flour
– 1/2 teaspoon salt
– 3/4 cup cold unsalted butter (cubed)
– 1 teaspoon apple cider vinegar
– 1/2 cup ice-cold water
Variations
One of the best things about this Easy Homemade Pie Crust is its flexibility. You can tweak it to suit your taste or the season. Here are some fun ideas to personalize your crust:
- Add herbs: Incorporate fresh or dried herbs like thyme or rosemary for a savory twist.
- Swap the fat: Try using coconut oil or vegetable shortening for a dairy-free version.
- Incorporate spices: Add a pinch of cinnamon or nutmeg to the flour for an aromatic touch.
- Use whole wheat flour: For a nuttier flavor and added nutrition, substitute half of the all-purpose flour with whole wheat flour.
How to Make Easy Homemade Pie Crust
Step 1: Blend Dry Ingredients and Butter
In a large mixing bowl, combine the flour and salt. This step creates the foundation of your crust. Then, add the cold unsalted butter. Using pastry blenders or your fingers, blend until the mixture resembles coarse crumbs. This technique helps create that flaky texture we all love!
Step 2: Make Pastry
In a measuring jug, mix together the apple cider vinegar and ice-cold water. Slowly pour this over the dry ingredients while mixing gently. Just bring it together into a dough ball without overworking it! This is key to keeping your crust tender. Divide the dough into two disks, wrap them in foil, and chill for one hour.
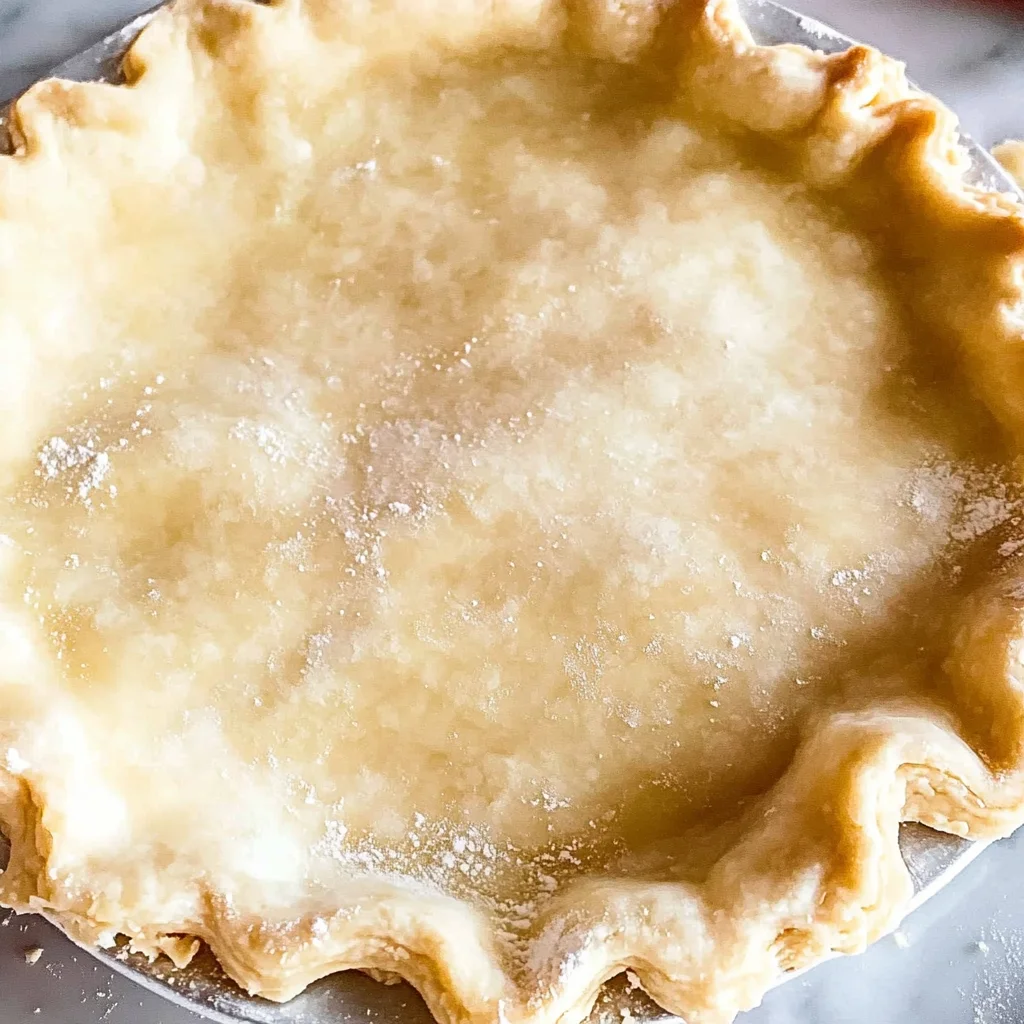
Step 3: Roll Out Crust
Once chilled, take one disk of pastry out of the fridge. Place it between two sheets of baking parchment and roll it into a circle slightly larger than a 9-inch pie dish. Carefully fit it into your greased pie dish and return it to the fridge to chill again. If you’re making a double-crust pie, roll out your second disk as well and chill it until ready to use.
Now you have an amazing Easy Homemade Pie Crust ready for any filling you desire! Enjoy creating delicious memories with every slice!
Pro Tips for Making Easy Homemade Pie Crust
Making the perfect pie crust can be a delightful experience, and with these tips, you’ll feel more confident in your baking journey!
-
Keep Ingredients Cold: Use cold butter and ice-cold water to ensure that your crust remains flaky. This helps create those beautiful layers we all love in a pie crust.
-
Avoid Overworking the Dough: Mixing just until the ingredients come together prevents gluten from developing too much, which keeps your crust tender instead of tough.
-
Use Parchment Paper: Rolling the dough between two sheets of parchment makes it easier to handle and transfer into your pie dish without sticking.
-
Chill Before Baking: Letting your pie crust chill before baking helps maintain its shape. This step is essential in preventing shrinkage during the baking process.
-
Don’t Skip the Vinegar: Adding apple cider vinegar not only enhances flavor but also helps to tenderize the dough for an even flakier crust.
How to Serve Easy Homemade Pie Crust
Now that you have your beautiful pie crust ready, let’s talk about how to present it! A homemade pie is always a show-stopper, so consider serving it warm with a scoop of your favorite dairy-free ice cream or fresh fruit on the side.
Garnishes
- Whipped Coconut Cream: A dollop of whipped coconut cream adds a light and airy texture along with a hint of sweetness that complements any pie filling.
- Fresh Berries: Toss some fresh berries on top for a pop of color and freshness. They not only look beautiful but also add a burst of flavor.
Side Dishes
- Mixed Green Salad: A light mixed green salad with vinaigrette balances the richness of pie and provides a refreshing contrast.
- Roasted Vegetables: Seasonal roasted vegetables bring warmth and earthiness to the meal, making for a comforting pairing with sweet pies.
- Fruit Compote: A warm fruit compote can elevate your dessert experience by adding depth with its sweet-tart flavors; perfect for drizzling over slices of pie.
- Vegan Ice Cream: Serve slices of pie alongside vegan ice cream for an indulgent treat that everyone will love.
With these serving suggestions, you can turn your homemade pie into an unforgettable dessert experience! Enjoy every bite!
Make Ahead and Storage
This Easy Homemade Pie Crust is perfect for meal prep, allowing you to save time and effort when you’re ready to bake. You can easily prepare it in advance and store it for future use, making your pie-making experience even more enjoyable!
Storing Leftovers
- If you have any leftover pie crust, wrap it tightly in plastic wrap or store it in an airtight container.
- Keep it in the refrigerator for up to 3 days.
- Make sure to label the container with the date so you can keep track of its freshness.
Freezing
- To freeze your pie crust, wrap each disk tightly in plastic wrap and then place it in a zip-top freezer bag.
- It can be stored in the freezer for up to 3 months.
- When ready to use, thaw it in the refrigerator overnight before rolling out.
Reheating
- If you’ve already baked your pie with this crust, you can gently reheat individual slices.
- Place them in a preheated oven at 350°F (175°C) for about 10-15 minutes until warmed through.
- For best results, cover with foil to prevent over-browning.
FAQs
Have questions about making your own pie crust? Here are some common inquiries!
How do I make an Easy Homemade Pie Crust?
To make an Easy Homemade Pie Crust, mix flour and salt, blend in cold cubed butter until crumbly, then add vinegar and ice-cold water until just combined. Chill before rolling out!
Can I freeze my Easy Homemade Pie Crust?
Yes! You can freeze your Easy Homemade Pie Crust by wrapping it tightly in plastic wrap and placing it in a freezer bag. It will stay fresh for up to 3 months!
What should I do if my pie crust is too crumbly?
If your pie crust is too crumbly, try adding a little more ice-cold water, one tablespoon at a time, mixing gently until it comes together.
Can I substitute the butter with something else?
Absolutely! If you’re looking for a dairy-free option, you can use plant-based butter or coconut oil instead of regular butter in this recipe.
Final Thoughts
I truly hope you enjoy making this Easy Homemade Pie Crust as much as I do! It’s a simple yet rewarding process that brings warmth and joy to any kitchen. Whether you’re baking a classic apple pie or trying something new, this recipe is special because it allows you to create delicious memories with loved ones. So roll up those sleeves and get baking—your perfect pie awaits!
Easy Homemade Pie Crust

If you’re on the hunt for a delightful pie crust that’s both easy to make and incredibly versatile, this Easy Homemade Pie Crust is your answer! With its flaky texture and buttery flavor, this crust serves as the perfect base for any sweet or savory filling. Whether you’re crafting a classic apple pie, a luscious pumpkin tart, or even a quiche, this recipe will elevate your dish and impress everyone at your table. Made with simple pantry staples, it’s forgiving enough for beginners yet sophisticated enough to please seasoned bakers. Get ready to roll up your sleeves and create beautiful memories with each slice!
- Prep Time: 20 minutes
- Cook Time: Varies by filling
- Total Time: 0 hours
- Yield: Makes enough for one standard pie (8 servings)
- Category: Dessert
- Method: Baking
- Cuisine: American
Ingredients
- 2 1/2 cups all-purpose flour
- 1/2 teaspoon salt
- 3/4 cup cold unsalted butter, cubed
- 1 teaspoon apple cider vinegar
- 1/2 cup ice-cold water
Instructions
- In a large mixing bowl, combine the flour and salt. Add the cold butter and mix until the mixture resembles coarse crumbs.
- In a separate jug, mix the apple cider vinegar with ice-cold water. Gradually add this to the dry ingredients while mixing gently until it forms a dough.
- Divide the dough into two disks, wrap them in foil, and chill for an hour.
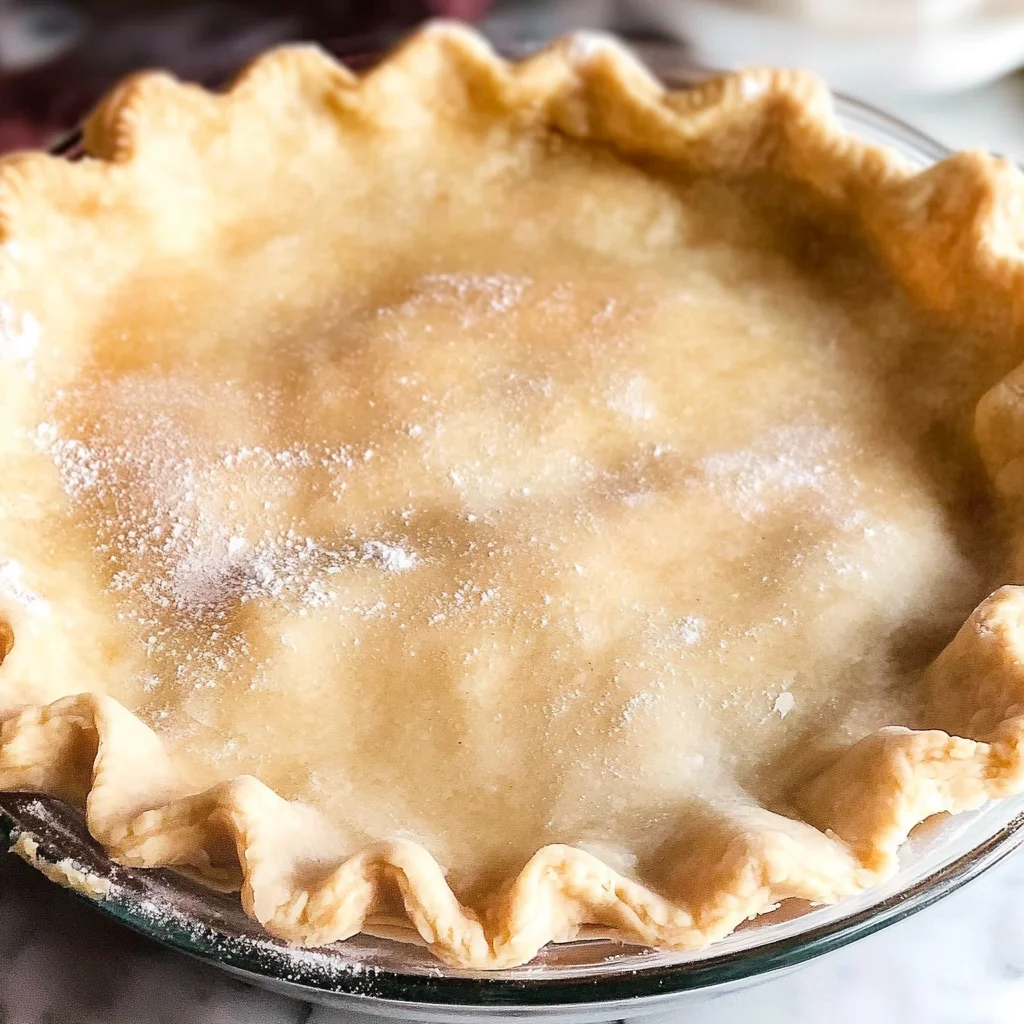
- Roll out one disk between two sheets of parchment paper into a circle slightly larger than a 9-inch pie dish. Fit it into the greased dish and chill again if needed.
Nutrition
- Serving Size: 1 slice (approximately 70g)
- Calories: 210
- Sugar: 0g
- Sodium: 105mg
- Fat: 12g
- Saturated Fat: 7g
- Unsaturated Fat: 5g
- Trans Fat: 0g
- Carbohydrates: 24g
- Fiber: 1g
- Protein: 3g
- Cholesterol: 30mg